Lab 1: Hello World
Contents
Lab 1: Hello World#
Introduction#
In Lab 1, you will practice bare metal programming by implementing a simple shell. You need to set up mini UART, and let your host and rpi3 can communicate through it.
Goals of this lab#
Practice bare metal programming.
Understand how to access rpi3’s peripherals.
Set up mini UART.
Set up mailbox.
Basic Exercises#
Basic Exercise 1 - Basic Initialization - 20%#
When a program is loaded, it requires,
All it’s data is presented at correct memory address.
The program counter is set to correct memory address.
The bss segment are initialized to 0.
The stack pointer is set to a proper address.
After rpi3 booting, its booloader loads kernel8.img to physical address 0x80000, and start executing the loaded program. If the linker script is correct, the above two requirements are met.
However, both bss segment and stack pointer are not properly initialized. Hence, you need to initialize them at very beginning. Otherwise, it may lead to undefined behaviors.
Todo
Initialize rpi3 after booted by bootloader.
Basic Exercise 2 - Mini UART - 20%#
You’ll use UART as a bridge between rpi3 and host computer for all the labs. Rpi3 has 2 different UARTs, mini UART and PL011 UART. In this lab, you need to set up the mini UART.
Todo
Follow UART to set up mini UART.
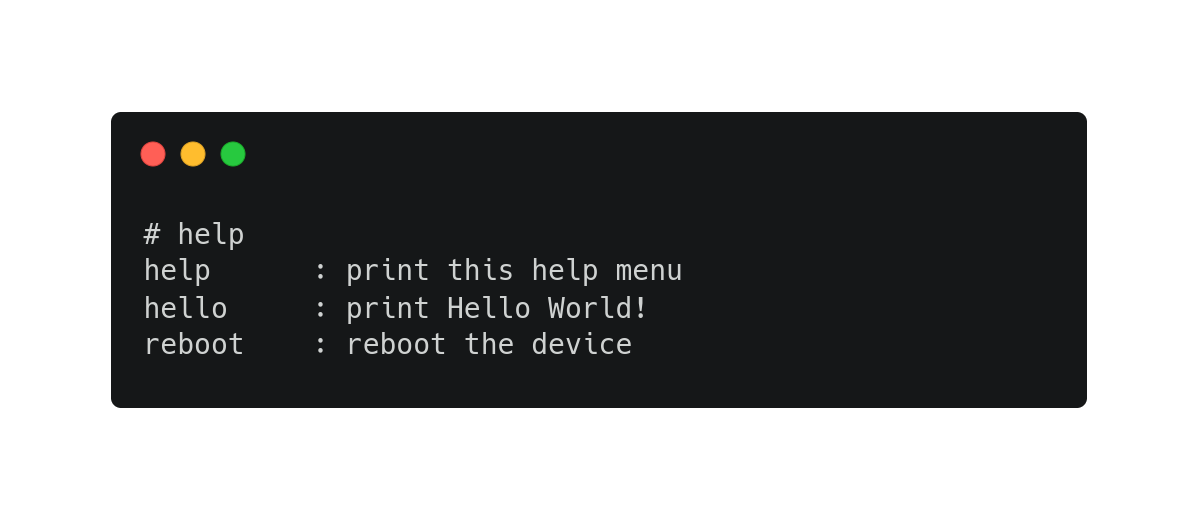
Basic Exercise 3 - Simple Shell - 20%#
After setting up UART, you should implement a simple shell to let rpi3 interact with the host computer. The shell should be able to execute the following commands.
command |
Description |
|---|---|
help |
print all available commands |
hello |
print Hello World! |
Important
There may be some text alignment issue on screen IO, think about \r\n on both input and output.
Todo
Implement a simple shell supporting the listed commands.
Basic Exercise 4 - Mailbox - 20%#
ARM CPU is able to configure peripherals such as clock rate and framebuffer by calling VideoCoreIV(GPU) routines. Mailboxes are the communication bridge between them.
You can refer to Mailbox for more information.
Get the hardware’s information#
Get the hardware’s information is the easiest thing could be done by mailbox. Check if you implement mailbox communication correctly by verifying the hardware information’s correctness.
Todo
Get the hardware’s information by mailbox and print them, you should at least print board revision and ARM memory base address and size.
Advanced Exercises#
Advanced Exercise 1 - Reboot - 30%#
Rpi3 doesn’t originally provide an on board reset button.
You can follow this example code to reset your rpi3.
Important
This snippet of code only works on real rpi3, not on QEMU.
#define PM_PASSWORD 0x5a000000
#define PM_RSTC 0x3F10001c
#define PM_WDOG 0x3F100024

void set(long addr, unsigned int value) {
    volatile unsigned int* point = (unsigned int*)addr;
    *point = value;
}

void reset(int tick) {                 // reboot after watchdog timer expire
    set(PM_RSTC, PM_PASSWORD | 0x20);  // full reset
    set(PM_WDOG, PM_PASSWORD | tick);  // number of watchdog tick
}

void cancel_reset() {
    set(PM_RSTC, PM_PASSWORD | 0);  // full reset
    set(PM_WDOG, PM_PASSWORD | 0);  // number of watchdog tick
}
Todo
Add a <reboot> command.